Ledger.com/start: The Ultimate Guide to Setting Up Your Ledger Hardware Wallet
If you're ready to take control of your cryptocurrencies and secure your digital assets, then Ledger hardware wallets are a must-have. Ledger is one of the most trusted names in the cryptocurrency industry, and their wallets — such as the Ledger Nano S Plus and Ledger Nano X — are designed to give you secure, offline storage for your private keys. To get started with your Ledger device, the official Ledger website has a dedicated page — ledger.com/start — which provides easy, step-by-step instructions for setting up your wallet.
In this comprehensive guide, we will walk you through the Ledger.com/start process, explain why it's so important, and give you everything you need to begin your crypto journey with confidence and security.
What Is Ledger.com/start?
The Ledger.com/start page is your official starting point for setting up your Ledger hardware wallet. It is designed to guide users through the entire setup process, ensuring that every user, whether they are new to cryptocurrency or experienced, can securely store and manage their digital assets.
Once you’ve purchased a Ledger hardware wallet (e.g., Ledger Nano S Plus or Nano X), visiting ledger.com/start will provide you with detailed instructions and download links to get started with Ledger Live, the official app for managing your wallet.
Why Use Ledger Hardware Wallets?
Ledger wallets provide unmatched security for your cryptocurrencies. Here’s why they are considered industry leaders:
- Cold Storage Security: Your private keys are stored offline, making them immune to online hacking attempts. This is the safest way to store cryptocurrencies.
- Non-Custodial: With Ledger, you’re the only one who has access to your private keys. No third party can access your funds.
- Multi-Currency Support: Ledger wallets support thousands of cryptocurrencies, including Bitcoin (BTC), Ethereum (ETH), Solana (SOL), and many others.
- User-Friendly Interface: While the security is top-notch, using Ledger is also straightforward, especially with Ledger Live — the app that facilitates crypto management.
Steps to Set Up Your Ledger Wallet via Ledger.com/start
1. Visit Ledger.com/start
The first step in the setup process is to visit ledger.com/start from any browser. This page serves as the hub for everything you need to set up your device.
Once you’re on the page, you will need to:
- Select your specific Ledger device (Ledger Nano X or Ledger Nano S Plus).
- Choose your operating system (Windows, macOS, Linux, iOS, or Android).
The page provides clear instructions, including download links for Ledger Live, the app that enables you to manage your Ledger device.
2. Download Ledger Live
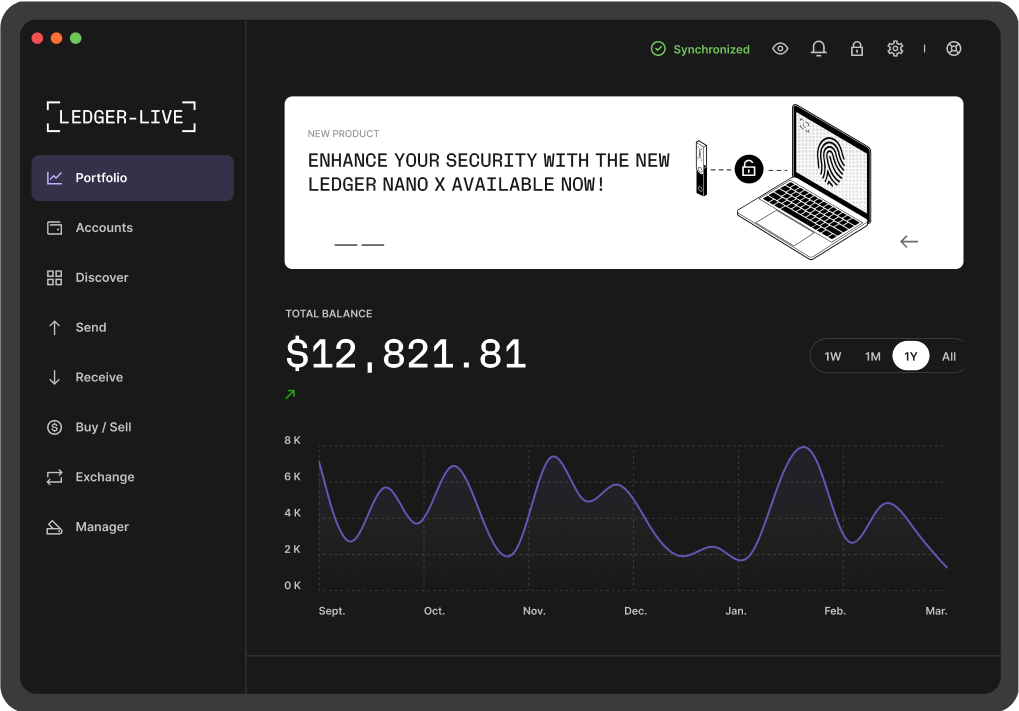
Ledger Live is the official software needed to interact with your Ledger hardware wallet. It allows you to manage your portfolio, send and receive cryptocurrencies, and monitor your balance securely.
- For desktop: Download the application for Windows, macOS, or Linux.
- For mobile: You can also download Ledger Live for iOS or Android to manage your wallet on the go.
Note: Always download Ledger Live from the official website to avoid any security risks.
3. Install and Set Up Ledger Live
Once you have downloaded Ledger Live, follow the on-screen instructions to install it on your computer or mobile device.
- After installation, open Ledger Live.
- The application will prompt you to either create a new wallet or recover an existing one using your 12-word recovery phrase.
4. Initialize Your Ledger Device
Now that you’ve installed Ledger Live, it’s time to initialize your Ledger hardware wallet.
- Connect your Ledger device to your computer or mobile device using the provided USB cable or Bluetooth (for Nano X).
- Follow the on-screen instructions to create a new wallet or recover a previous one. If you’re creating a new wallet, make sure to write down the 12-word recovery phrase provided during setup — this is your only backup for recovering access to your wallet in case your device is lost or damaged.
5. Install Cryptocurrency Apps on Your Ledger
Once your Ledger device is initialized, you can start installing apps for different cryptocurrencies. These apps allow you to manage specific coins on your device.
- Open the Ledger Live Manager.
- Browse the list of available apps and install the ones you need (e.g., Bitcoin, Ethereum, etc.).
6. Send, Receive, and Manage Your Assets
Once your Ledger device is set up, you can start using it to send and receive cryptocurrencies, view your portfolio, and even stake certain assets for rewards.
- Send/Receive Cryptos: Use Ledger Live to transfer funds securely by connecting your Ledger device, verifying transactions on the device, and sending coins to any wallet address.
- Staking: If your crypto assets support staking (e.g., Tezos, Cosmos), Ledger Live allows you to securely stake your tokens and earn rewards.
Tips for Keeping Your Ledger Wallet Safe
While Ledger.com/start helps you get set up, security is an ongoing concern for cryptocurrency users. Here are a few tips to keep your Ledger wallet safe:
- Backup Your 12-Word Recovery Phrase: Write it down on paper and store it in a safe place. Never store it online or share it with anyone.
- Enable a PIN: During setup, you will be asked to create a PIN. This adds an extra layer of protection to your Ledger device.
- Use a Hardware Wallet for Long-Term Storage: If you’re holding large amounts of cryptocurrency, consider using a hardware wallet rather than keeping funds on exchanges.
- Only Download from Official Sources: Always use the official Ledger website and apps to ensure you’re not falling for phishing scams.
Final Thoughts
Ledger.com/start is your gateway to securing and managing your digital assets using a Ledger hardware wallet. Whether you’re just starting out with cryptocurrency or have been in the space for a while, the Ledger Live application provides a safe, convenient, and user-friendly interface to manage your portfolio and interact with blockchain networks.